Schedule Automation for Sync data
To schedule automation for sync data, perform the following steps.
To schedule automation for Sync data:
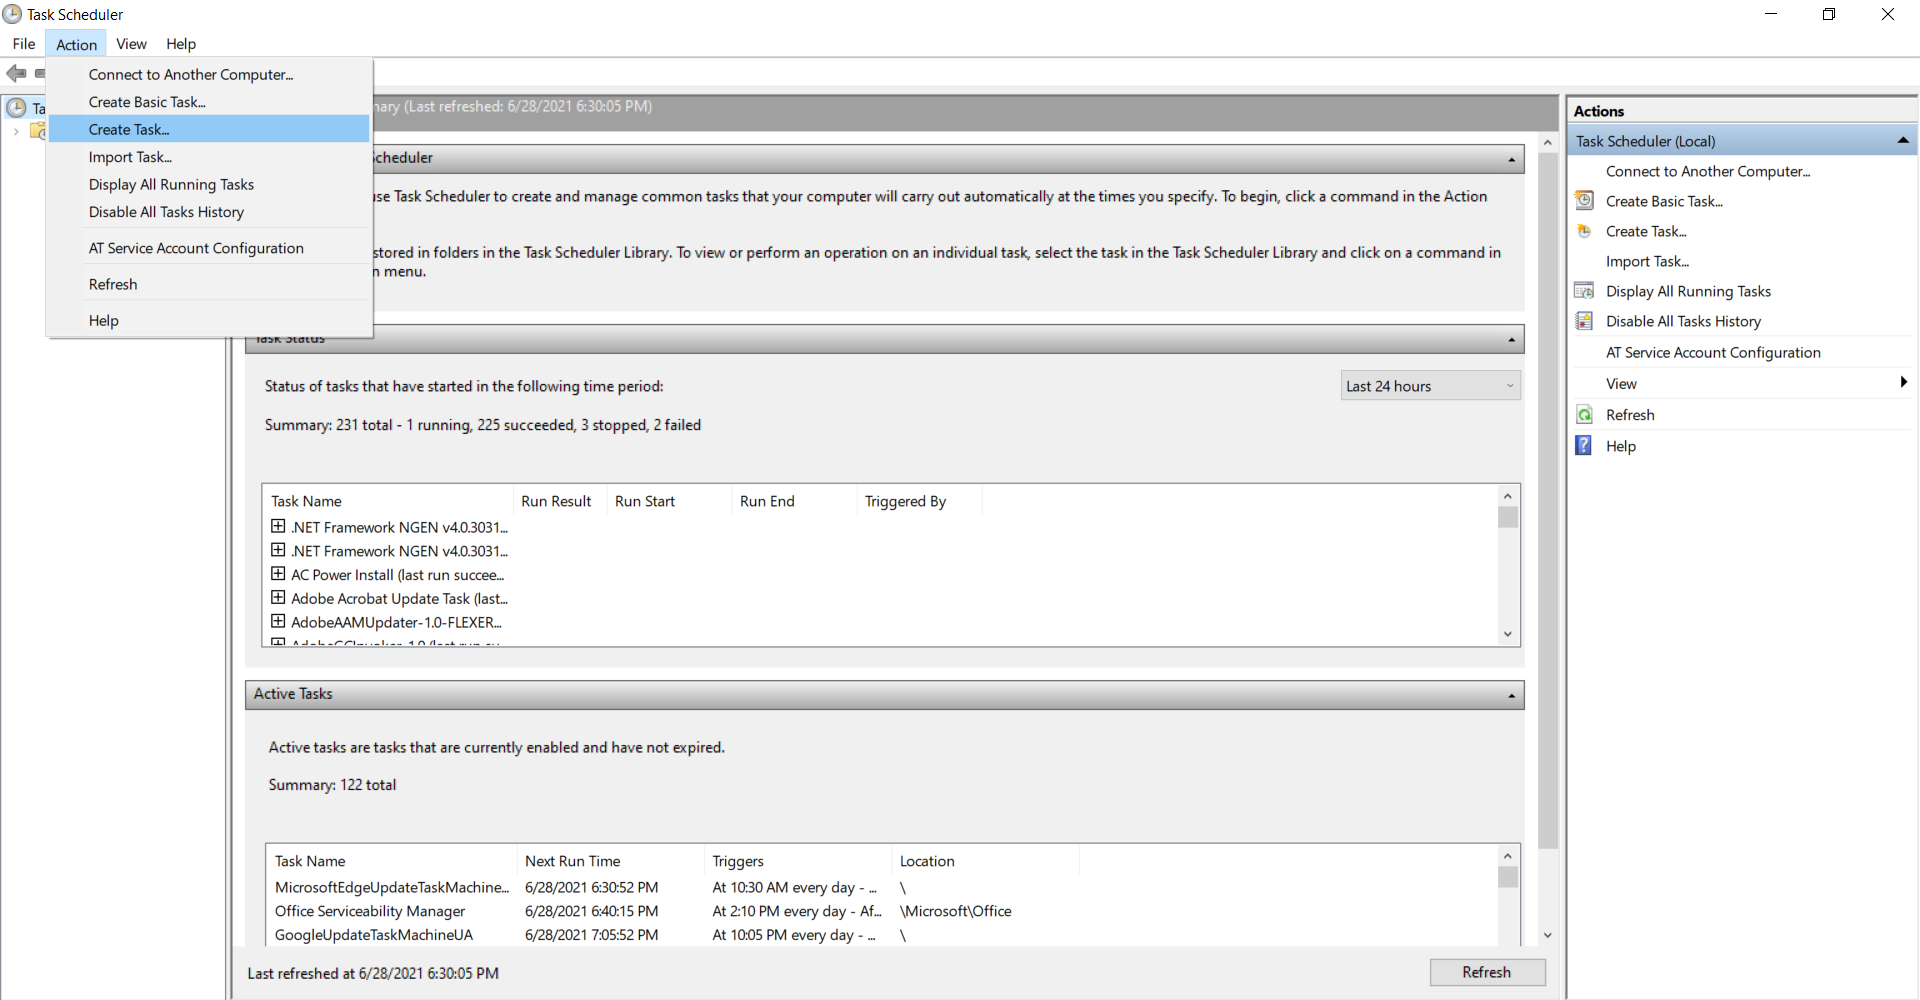
- Type Task Scheduler in the Windows Start menu and click on Task Scheduler to launch task scheduler.
- On the Actions tab menu, select Create Task option. The Crete Task dialog box appears. 
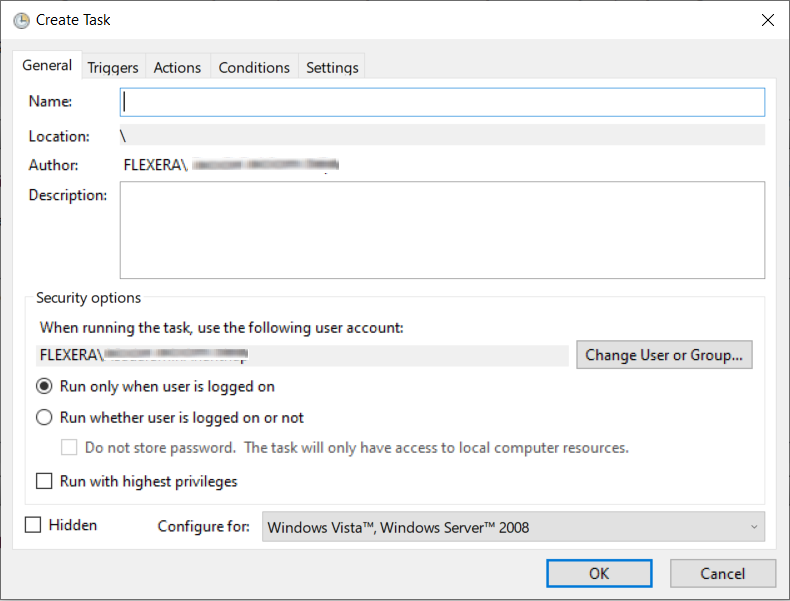
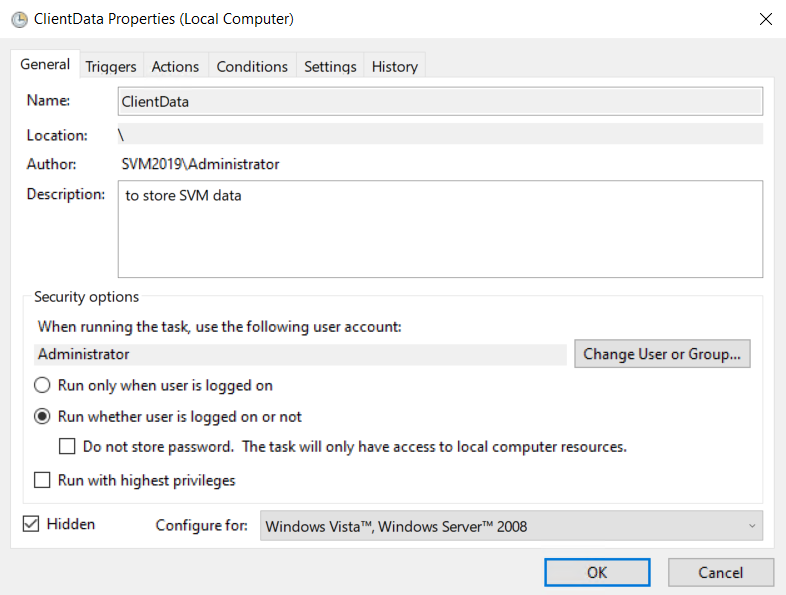
- It consists of five tabs:
- General
- Triggers
- Actions
- Conditions
- Settings 
- In General tab.
- In Name field, enter the task name.
- In Description field, enter description for the task.
- In Security options section, you can configure which administrator account can run the task.
- Select the Run whether user is logged on or not option.
- Select the Run with highest privileges option, If the task requires the highest privileges.
- Select the Hidden option, If you want to hide the task.
- The Configure for settings are changed only when you are required to use a different compatibility option.
- Click Ok button. 
- In Triggers tab.
- Click the New button. The New Trigger dialog box appears.
- Click the Begin the task drop-down and select one of the triggers from the list.
- Select Daily, Start date and time, and then enable the settings. Click Ok to schedule the task.

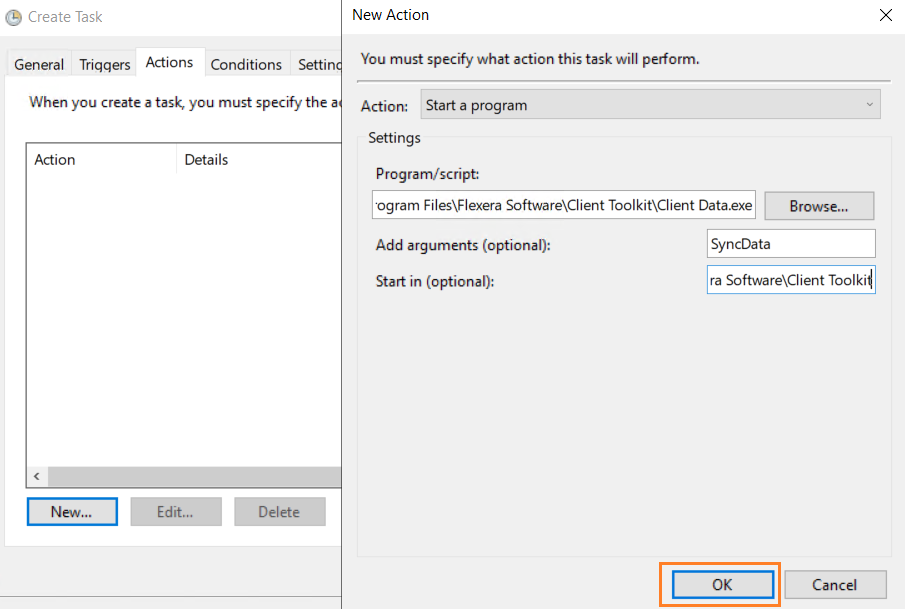
- In the Action tab.
- Click the New button. The New Action dialog box appears.
- Click the Action drop-down and select one of the actions from the list.
- Under the Settings section, in the Program/script field, specify the path for the application (SVMClientData.exe).
- In the Add arguments (optional) field, you can specify Sync Data.
- In the Start in (option) field, specify the installation folder of the SVMClientData.exe
- After selecting the above fields, click the Ok button. 
- After completing the steps, authenticate with your account credentials, and then the task will run automatically on schedule or event using the specified settings.